Button it up properly (!)
Putting a knot on it most people can manage, but how well - or how neatly - does it sit? That is the question. From now on, it sits neatly. Watch it!
Kitchenware
- button
- iron thread*
- needle
- match or toothpick
- scissors
Instructions
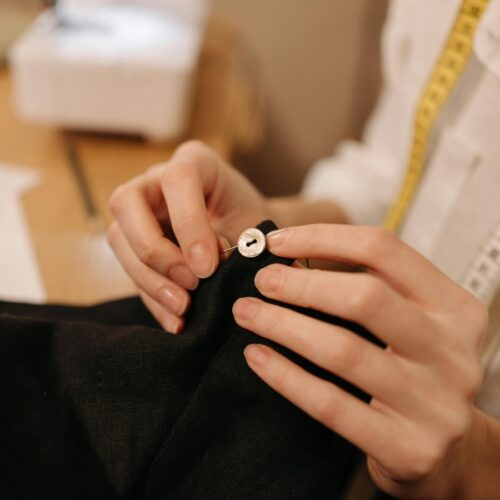
- Fold your thread in half (tip for extra strength) and pull the loop in the middle through the eye of the needle. This is often easier than putting the two ends through the needle. Pull the loop further so that the loop becomes your long piece and the two loose ends are the shorter piece.
- Attach the thread by inserting your needle through the fabric at the back, leaving a small loop. Thread your needle through that. This way your thread is securely attached and you won't have any loose ends.
- Now insert your needle and thread to the front. Stick through your knot and back through the other hole and through the fabric. Don't pull very firmly yet.
- Now insert a match or toothpick between your button and your fabric. This will prevent you from sewing the button too close to the fabric and making it almost impossible to get it through your buttonhole.
- Then sew the knot in place; your match will stay put. I often go back and forth about four times.
- Finish at the back, remove the match and now insert the needle to the front one more time. Now you won't go through the buttonhole. Make sure you get between the button and the fabric with your needle and now twist your thread around your button about six times (i.e. between the fabric and the button). Then insert the needle back to the back and stitch your thread.
Notes
*For sewing on a button, it is best to use iron thread. You often find this yarn wrapped on such a star and it is extra strong. This prevents the knot coming off inside no-time lies off again, or that the wire snaps when you pull it hard.