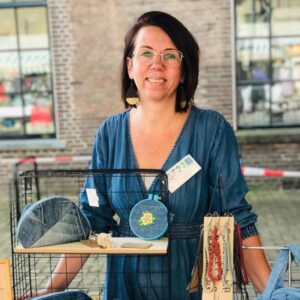
Our DIY expert Melanie is very handy with leftover materials. Especially for readers of thegreenlist.nl she shows that you can make really cool things from waste and stuff you find at the thrift store. This time, she makes DIY Easter decorations from leftover materials. A super easy and very cosy DIY that you can also do with children. Melanie, come on in!
Save money and make your own DIY Easter decorations
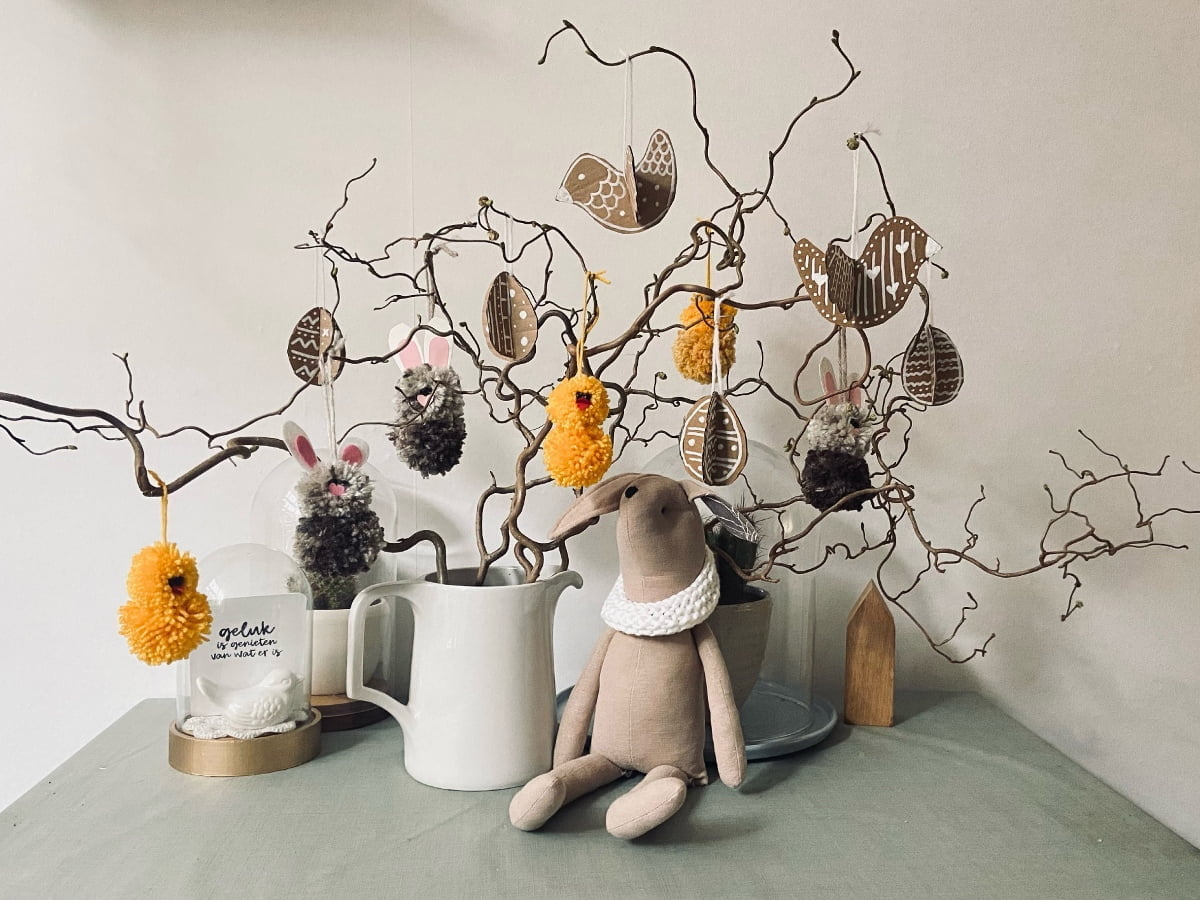
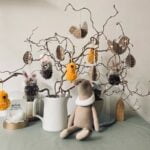
Every year around Easter, we put up an Easter tree in our house that we decorate with eggs, little chicks and Easter bunnies. The shops are full of decorations every year. But did you know you can make the best decorations yourself? And even from materials you probably still have around the house (or else can easily find at the thrift store). Check the recycling app for a shop near you! Below are three ideas for making Christmas decorations. Go for a little chick, bunny or keep it simpler with cardboard eggs. Combining is also great fun. See for yourself!


Step-by-step DIY Easter decorations in pictures (explained below).


Step-by-step DIY cardboard Easter decorations.
I am lucky that my parents have a curly hazel in the garden, so I got a few branches from there. You can use other pretty branches too, just search around your garden (or the neighbour's). You don't have to buy the Easter branch new either. In fact, an Easter branch from the supermarket is usually not a sustainable choice at all. Need inspiration? We previously wrote an article about the zero waste Easter tree growing in your neighbourhood.
DIY Easter decorations made from leftover materials
Materials
Supplies for pompon bunnies & chicks
- scraps of wool (Always available at the thrift store!)
- piece of cardboard
- sharp scissors
- glue (gun)
- small black beads
- small pieces of coloured cardboard or felt
Supplies for cardboard birds and eggs
- cardboard
- (white) posca marker
- scissors
- scrap wool
Instructions
Making pompon bunnies and chicks
- From cardboard, cut a rectangle of about 7 by 12 centimetres. With this, I made pompoms of about 5 centimetres. If you want to make bigger pompoms, cut a wider piece of cardboard. In the middle of the cardboard, cut a kind of notch 1 centimetre wide (see photo above). For strength, I glued two rectangles together.
- Make a notch at the top and tie a 25-centimetre strand into it. (You will tie this around the pompon later.)
- Spin the wool around the cardboard. For the plain wool, I twisted around the cardboard about 100 times. For the bunny, I used thicker wool. I twisted that one about 70 times.
- Tie everything together with the thread you had tied earlier. Tie the wool together as tightly as possible.
- Remove the wool from the cardboard and cut the loops with sharp scissors. Note: do not cut the thread you tied the pompom with, this will be your hanging loop later.
- You now have a sort of pompon, but it's not very pretty yet. With the scissors, now cut the pompon into shape.
- Stick 2 pompoms together with the glue gun.
- Stick 2 beads for the eyes.
- Fold a small piece of cardboard in half and cut a triangle for the beak.
- Glue the beak in place with the glue gun.
- For the bunny, cut a small heart for the nose and cut two ears from white cardboard. Make the inside of the ears out of pink cardboard and stick the ears with the glue gun. To finish it off: give the rabbits a tail. To do this, make a mini pompon using a fork, then twist the wool around the fork just like you did around the cardboard.
Making cardboard birds and eggs
- From cardboard, cut out the shape of the bird and the eggs.
- Make a notch at the top of the bird, up to the middle, and make a notch at the bottom of the wings, also up to the middle.
- Decorate the bird and wing with the white posca marker.
- Slide the slot of the bird and the wing together.
- Use leftover wool to make a pendant on the bird.
- For the eggs, follow the same steps.
Notes
- Look for mixed balls of wool in the thrift store, they have the most beautiful effect. You can also use two colours, say light yellow and dark yellow, and twist them around the cardboard at the same time. The ‘woollier’ or ‘fluffier’ the wool, the nicer the effect.
- If you don't have black beads, you can also make coloured beads black with paint or a waterproof marker. You can also just cut a small circle out of paper. You can also use wiggle eyes, which can often be found among the craft supplies at the thrift store.
- Cover the cardboard with pretty papers or stickers.
- Use paint or coloured markers to make colourful birds and eggs.
More sustainable tips from thegreenlist.nl
- A sustainable Easter branch? That one is already in a backyard somewhere.
- Also try this DIY: natural paint for Easter eggs.
- Prefer a vegan egg with your Easter breakfast? In this article, you will read that there are several ways to prepare a delicious vegan egg. In the article, you will also find the numerous options for replacing egg while baking and cooking.
Photo credits: Melanie de Oliveira.