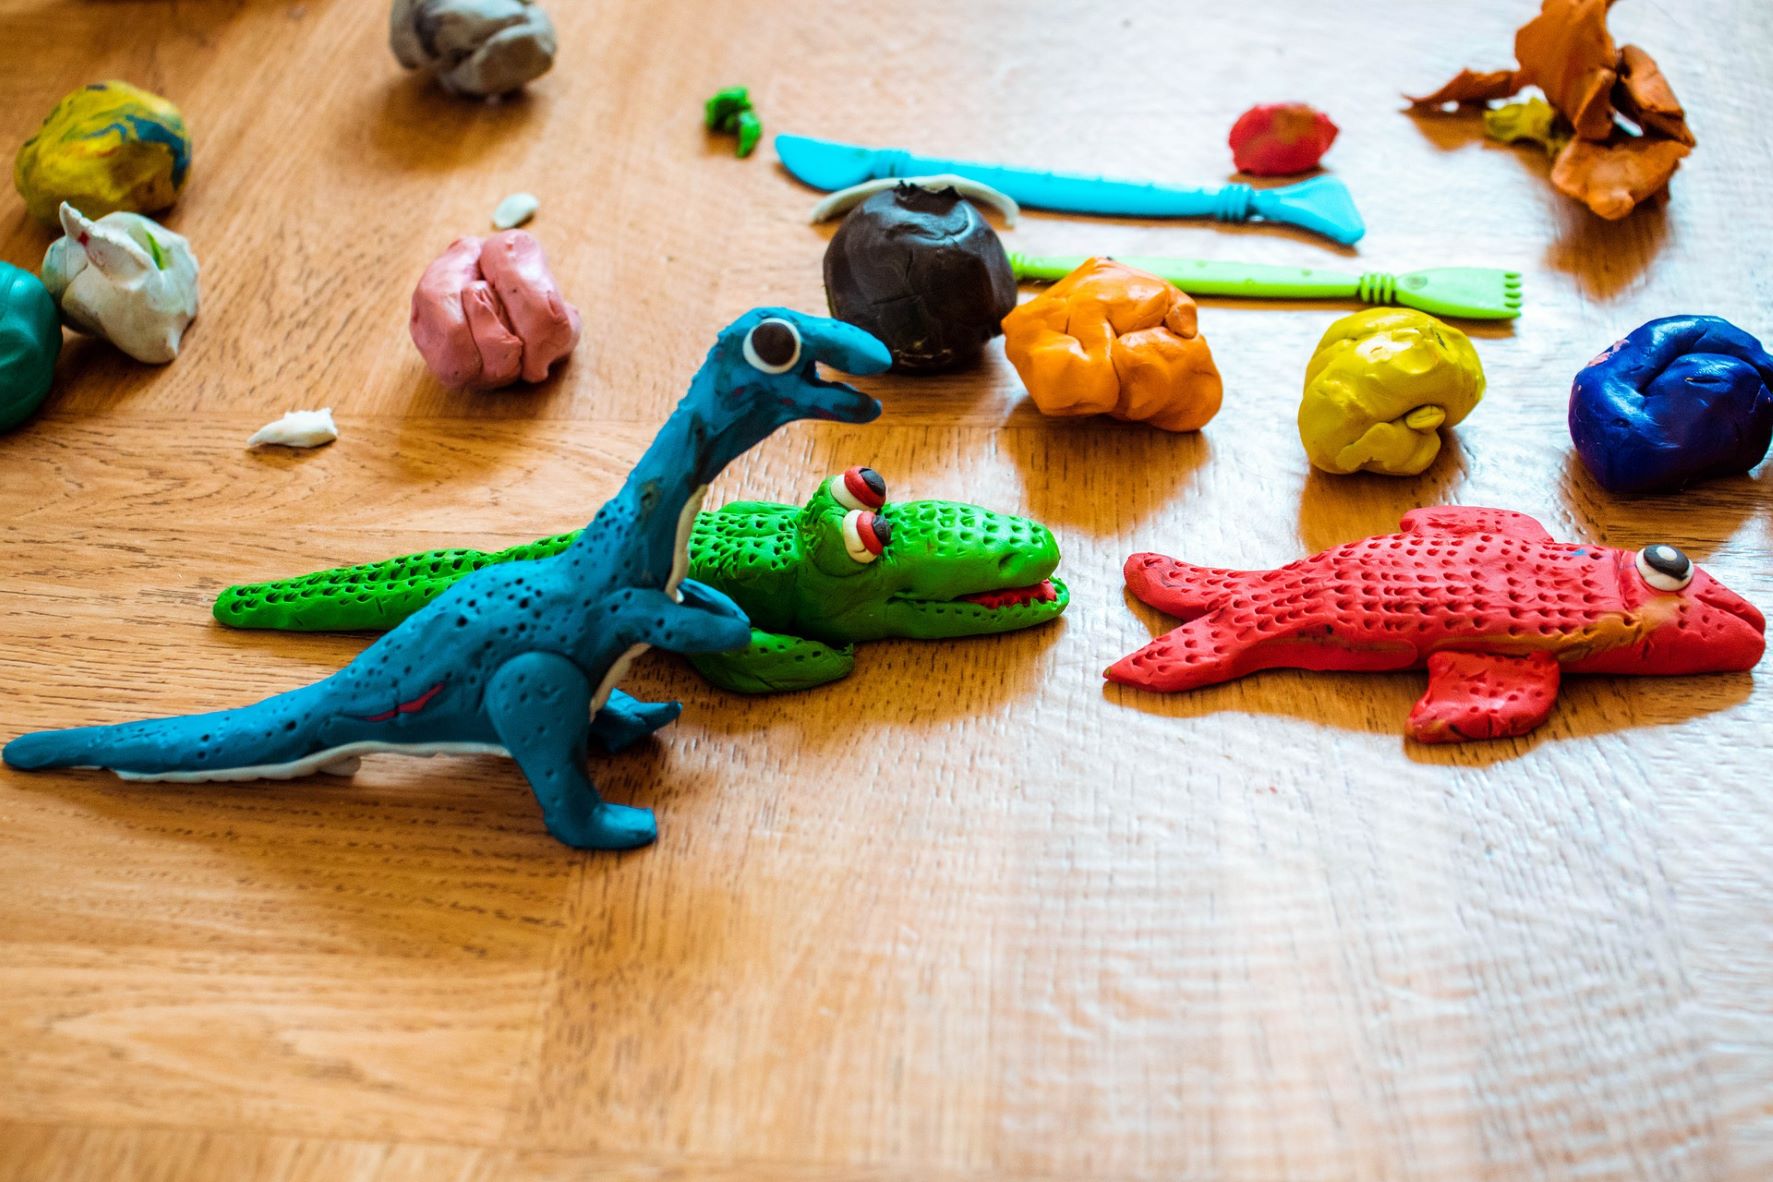

Many children love it: clay. But did you know that you can also very easily make clay yourself at home from just three natural ingredients that you most probably already have at home? Really, we'll show you! Because this time, zero waste expert Emily-Jane Townley shares her DIY recipe for clay.
Making your own clay
Extend the clay fun by making your own clay with your children beforehand. All you need is baking soda, cornstarch and water. If you find white clay a bit boring, you can easily add natural colours and you won't need Play-Doh anymore. I'm sharing my favourite recipe with you. Even without zero waste ambitions, this is a super fun tip.
Zero waste recipe: making your own clay
Many children love it: clay. But did you know that you can also very easily make clay yourself at home from just three natural ingredients that you most likely already have at home? Not only clay, but also making clay is a super fun activity with kids.
Portions: 1 ball of clay
Tools
- pan for heating
- sealable jar or container for storage
Materials
- 1 cup baking soda
- ½ cup cornstarch
- ¾ cup water
- optional edible dyes
Instructions
- Mix the baking soda and cornstarch in a pan. Use your hands to make sure everything is mixed and there are no lumps.
- Add the water and stir until it becomes an even porridge. Add any edible dyes and stir into the mixture.
- Put the pan on medium-high heat and keep stirring so that the mixture does not clump or burn.
- As soon as the mixture starts to stick together, remove the pan from the heat. Scoop the mixture into a bowl and let it cool. Cover the bowl with a damp tea towel so it doesn't dry out.
- When the mixture has cooled completely, knead it until smooth. Is the dough too sticky? Then add a little more cornstarch. If it is too thick, you can add a small splash of water.
Notes
The clay can be stored for a short time (up to two weeks) in a tightly sealable jar. You can leave the made clay moulds to dry (24-48 hours). Of course, the clay is not for eating, but because of the ingredients, your child won't mind putting it in his or her mouth.
More kid tips from thegreenlist.nl
- Which sustainable children's toothpaste is the tastiest? The kids test panel sought it out.
- The list of The cutest sustainable children's books.
- Nice DIY: lantern made of (vegetable) milk carton.
Sources: levenzonderafval.com. Photo credits: Cray-G (Pexels).